I wish I could tackle every project in my life with that much gusto!
But I mentioned back here how we worked on felt letters together, and how I made my own felt board. I love felt. I love the hands on playing and learning you can do. I love the textile feeling of it. I'm a hands on kind of girl and find that I learn best by physically being involved in something. I knew it would be great for Oliver too, it seemed like he would love to be able to do it by himself (that seems to be the theme for a three year old) and he would also learn how to think through his letters and how they are built.
SO, when the boys went down for a nap I pulled out materials I thought would work for my own felt board. I considered using a big piece of cardboard for the actual board and covering it with felt but that probably would have been a big unfinished looking mess. I remembered that we had picked up several cork boards from a neighbor and they were literally sitting around waiting for us to do something remarkable with them. Well today was the day!
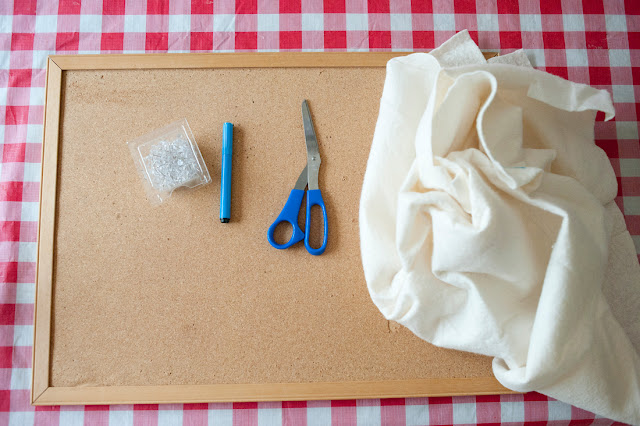
Maybe not remarkable, but they were a perfect match for my felt board. I pulled out the larger one, some felt material I had stashed away with my fabrics, scissors, a marker and some thumb tacks.
I didn't plan on making this a permanent felt board, as I like to have my options for our cork boards. So I took the temporary route. I laid my piece of felt over the whole board. It was an odd sized piece of fabric so I just made sure it covered the board. Then I pressed into the edges of the board, where the trim met the cork. I used thumbtacks to press the fabric down, while I used a marker to gently draw along the edge for my cutting line. Then I trimmed my pattern out. Done. Right?
 |
| see that big gap? yah, this was attempt number one. fail. |
No, not done. Failed actually.
I realized that I shouldn't have drawn right on the edge, I should've gone beyond the edge a bit. About a 1/2" or so. Felt is stretchy, so once you make it taut it bounces back, sort of, when you release it.
SOOO, I did the whole process again, and just set the first piece aside for using in something later.
While I was making my second piece, little boy woke up from his nap, so there was that going on beside me :)
I did it correct the second time around! After I had my piece, I used thumbtacks to press it into the edges. I may get some smaller tacks, or use staples as an low profile option. But for now, this is working fine.
I then cut out some letters for Oliver (I used chalk to outline my letters).
I made his name, and the letters we are working on right now, Aa.
Such an easy project. Well, once you figure out the measurement correctly :)


No comments:
Post a Comment